PREP TIME: 20 MIN. SERVINGS: 6
INGREDIENTS:
| 1 | lb lean (at least 80%) ground beef |
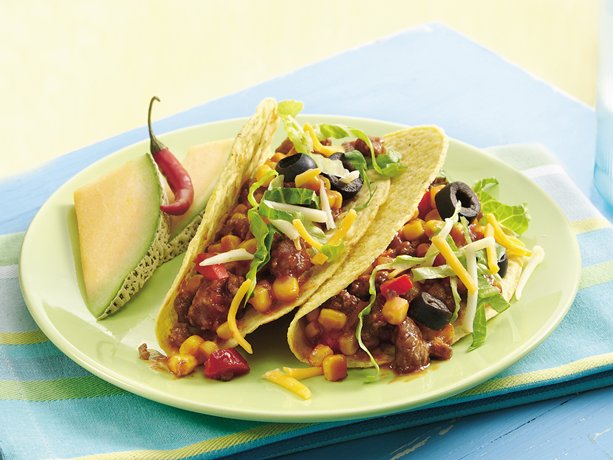
| 1 | box (4.6 oz) Old El Paso® taco shells (12 shells) |
| 1 | can (15.5 oz) sloppy joe sauce |
| 1 | small red bell pepper, chopped (1/2 cup) |
| 1 | can (11 oz) Green Giant® Niblets® whole kernel sweet corn, drained |
| 1 | can (2 1/4 oz) sliced ripe olives, drained |
| 1 | cup thinly sliced romaine lettuce |
| 1/2 | cup shredded Colby-Monterey Jack cheese (2 oz)
RECIPE:
- 1Heat oven to 350°F. In 10-inch skillet, cook ground beef over medium-high heat 5 to 7 minutes, stirring frequently, until thoroughly cooked; drain.
- 2Meanwhile, heat taco shells as directed on box.
- 3Stir sloppy joe sauce, bell pepper and corn into ground beef. Cook 2 to 3 minutes longer, stirring occasionally, until mixture is hot and bubbly.
- 4Spoon about 1/4 cup beef mixture into each warm taco shell; top with olives, lettuce and cheese.
- NUTRITION INFORMATION:
- *Percent Daily Values are based on a 2,000 calorie diet.
|
 Ingredients

 PREP TIME: 10 MIN.
  PREPARATION TIME: 20 MIN.